If you have a pool but do not have a skimmer then you are surely missing a vital part of your pool. Skimmer keeps your pool clean which you will find helpful a lot.
But aside from these things, there are some common questions about skimmers like,
Can you add an above ground pool skimmer?
How to Install a Skimmer in Above Ground Pool?
The answer is very simple to these questions. You just need to follow us from the beginning and you will surely be able to install a skimmer above the pool ground.
Installing a Skimmer in an Above-Ground Pool: A Step-by-Step Guide
Installing a skimmer is a tough job if it is not done properly. There are some steps which should be followed properly. The steps are explained there:
Determine the placement of the skimmer in the pool
Decide where the pool’s scrubber should be placed. The fitting on the pool wall where the water is returned to the pool from the filtration system, called the return jet, should be placed far from the middle of the pool’s longest side.
The skimmer will effectively collect debris from the water’s surface if it is positioned close to the middle of the pool’s longest edge. Additionally, positioning the skimmer away from the return stream ensures that it can skim the pool’s surface effectively and prevents any disruption of the water’s flow.
Draw a pencil sketch of the skimmer
In order to place the skimmer properly, it is important to bear the following in mind when drawing the skimmer’s outline on the inside of the pool wall.
Make sure the outline is level and smooth, use a straight edge. This will make it more likely that the skimmer will be fitted correctly and operate efficiently.
Make sure to adhere to the manufacturer’s guidelines regarding the skimmer’s size and form. As a result, there won’t be any risk of leaks or other problems and the skimmer will fit into the hole correctly.
As you drill the hole and place the skimmer, you will be able to see the outline clearly as a result.
Before you drill the opening, make sure the skimmer is in the proper location. Before you begin cutting, make sure the skimmer is in the proper location because once the hole is made, it cannot be repaired.
Cut the skimmer hole in the pool wall
One of the most important steps in the installation procedure is to use a hole saw to cut out the skimmer opening in the pool wall. The following are key points to bear in mind:
Make sure the hole saw you are using is the appropriate dimension for the skimmer you are installing. For the right size, heed the manufacturer’s directions.
In the middle of the marked skimmer outline, drill a pilot hole. This will make the hole saw easier to control and keep it from sliding.
Drill the test hole, then attach the hole saw to the drill. As you cut through the pool wall, use steady, even pressure. A saw can jam or overheat if too much pressure is applied or if you move too quickly.
For the specific skimmer model you are installing, adhere to the manufacturer’s directions. Some models might need extra stairs or changes to the pool wall.
After the hole has been cut, thoroughly clean it of any debris or sharp edges. This will guarantee a good fit for the skimmer and guard against leakage.
Install the skimmer
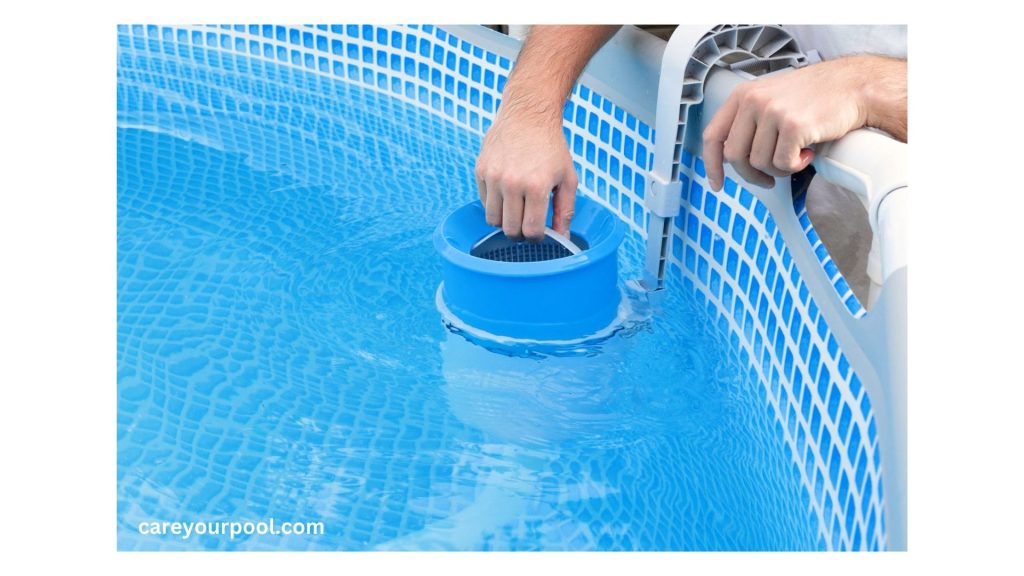
The next stage is to install the skimmer after drilling the hole for it in the pool wall. The following are key points to bear in mind:
For the particular skimmer model you are installing, check the manufacturer’s directions. The steps for correctly installing the skimmer will be detailed in the directions, along with any unique equipment or methods that might be necessary.
Put the skimmer into the opening in the pool wall with care. Be careful not to harm the skimmer or the pool side as you do this.
The skimmer should be screwed into the pool wall. Again, for information on the right screws to use and how to firmly attach the skimmer, consult the manufacturer’s instructions.
Carefully tighten the screws, being cautious not to strip the threads or over-tighten.
Check the skimmer after placement to make sure it is set up correctly and is firmly fastened to the pool wall. Look for any indications of leaking or harm.
Connect the skimmer to pool’s plumbing system
The next stage after installing the skimmer is to use PVC pipes and fittings to attach it to the pool’s plumbing system. The following are key points to bear in mind:
Review the installation directions provided by the manufacturer for the specific skimmer model you are using. To correctly connect the skimmer to the pool’s plumbing system, follow the instructions.
Use PVC fittings and pipelines designed for swimming pool plumbing systems. These ought to be constructed from corrosion-resistant materials that can endure exposure to pool chemicals.
Consider the distance between the pool pump and the skimmer as well as any additional system parts, such as the filtration and heater, when planning the pipe runs.
For a strong connection between the pipelines and fittings, use PVC primer and cement. For the correct application of primer and cement, follow the manufacturer’s directions.
Make sure that all connections are tightly secured and leak-free. Before using the system, give it a comprehensive test to make sure there are no leaks or other problems.
If you don’t have any plumbing expertise for a pool, you might want to consider getting a pro to help with the installation. Poor installation can result in leaks, insufficient water movement, and other problems that can affect how well the pool’s filtration system works.
Check for the leaks
The last step is to turn on the pool pump and look for leaks after the skimmer has been correctly installed and connected to the pool’s plumbing system. The following are key points to bear in mind:
Verify that all of the system’s valves are in the appropriate locations before starting the pump.
The pool engine should be turned on and left running for a while. Look for any indications of leaks near the skimmer, plumbing connectors, or other system parts.
If any breaches are discovered, stop the pump and locate the leak’s origin. Examine all fittings and connections for indications of harm or improper assembly.
Fix the leaks by making any required adjustments. This may entail resealing connections with PVC cement, replacing damaged parts, or tightening fittings.
Turn the pump back on and recheck for leakage after the leaks have been repaired. Continue doing this until the system is working properly and all breaches have been fixed.
Throughout the pool season, make sure to regularly inspect the system for leaks and other problems to ensure that it keeps functioning effectively and efficiently.
After installing the skimmer the filtration system is ready to use.
How to install an above-ground pool skimmer with Butterfly Gasket?
Butterfly gaskets are also called wall-saver gaskets. It protects the pool wall from corrosion.
All you need is to fold the butterfly gasket around the pool wall inside the skimmer hole. But you have to be careful that it does not go around outside of the skimmer and the liner.
Conclusion
The skimmer is one of the vital parts of your pool. You have to attach your skimmer above the ground. It will help you in a lot of ways and the main one is cleaning the pool.
But first of all, you have to learn how to attach it or how to change it. You might think you will hire someone for this work but soon you will realize that hiring someone for this work is completely useless when you can do it very easily.
We have tried to explain how to install a skimmer in above ground pool. If you have any other questions related to swimming pool like how to replace above ground pool skimmer, can you put shock in the pool skimmer etc, you can visit us without any hesitation.
We sincerely apologize if we missed any important information.
Read more, Learn more
For more information visit these sites. You will certainly know information about these pool things: